Cedar Shingles vs. Cedar Shakes: Which Roof or Wall Covering Should You Choose?
Two bundles of cedar arrive on the same lorry and smell identical: warm, spicy, unmistakably western red cedar. Then you open them. One is a neat stack of machine-sawn, gently tapered shingles with smooth faces and straight edges. The other is a heap of split shakes, ribbed and rough, each one a slightly different width and shape. That single difference in how the timber was cut shapes everything that follows — how the finished roof or wall looks, how long it lasts, what it costs and how much work it takes to keep it looking good.
The difference is in the cut, not the tree
Both products start as the same species, Thuja plicata, the western red cedar grown along the Pacific coast of North America and increasingly planted in the UK. The split happens at the sawmill.
Shingles
Sawn on both faces, with parallel edges and a consistent taper from a thicker butt to a thinner tip. The result is a flat, even unit that sits tight against its neighbours. Shingles are graded by quality, and the better grades have fewer knots and a more uniform thickness.
Shakes
Split rather than sawn, traditionally with a hand-held froe, more often now by machine. At least one face is left rough and deeply ribbed. Because the split follows the grain rather than slicing across it, many roofers argue that shakes shed water better and resist cupping. You will also see "resawn" shakes, which have one flat face and one split face, giving a compromise between the two looks.
Thickness, weight and performance
A standard shingle is roughly 10mm thick at the butt. Shakes start around 12mm and go up; the heaviest hand-split grades can be nearly twice that. That extra timber matters in four ways.
- Shadow line. A thick butt throws a deep, chunky shadow. A shingle gives a fine, even line.
- Weathering. More wood above the nail line means less movement, so thick shakes cope better with driven rain and freeze-thaw cycles.
- Weight. Shakes are heavier, which affects battens, rafters and handling on a scaffold.
- Exposure. Longer, thicker units can be laid with more of each course showing, so a shake roof needs fewer courses to cover the same area.
Appearance: tailored or rustic
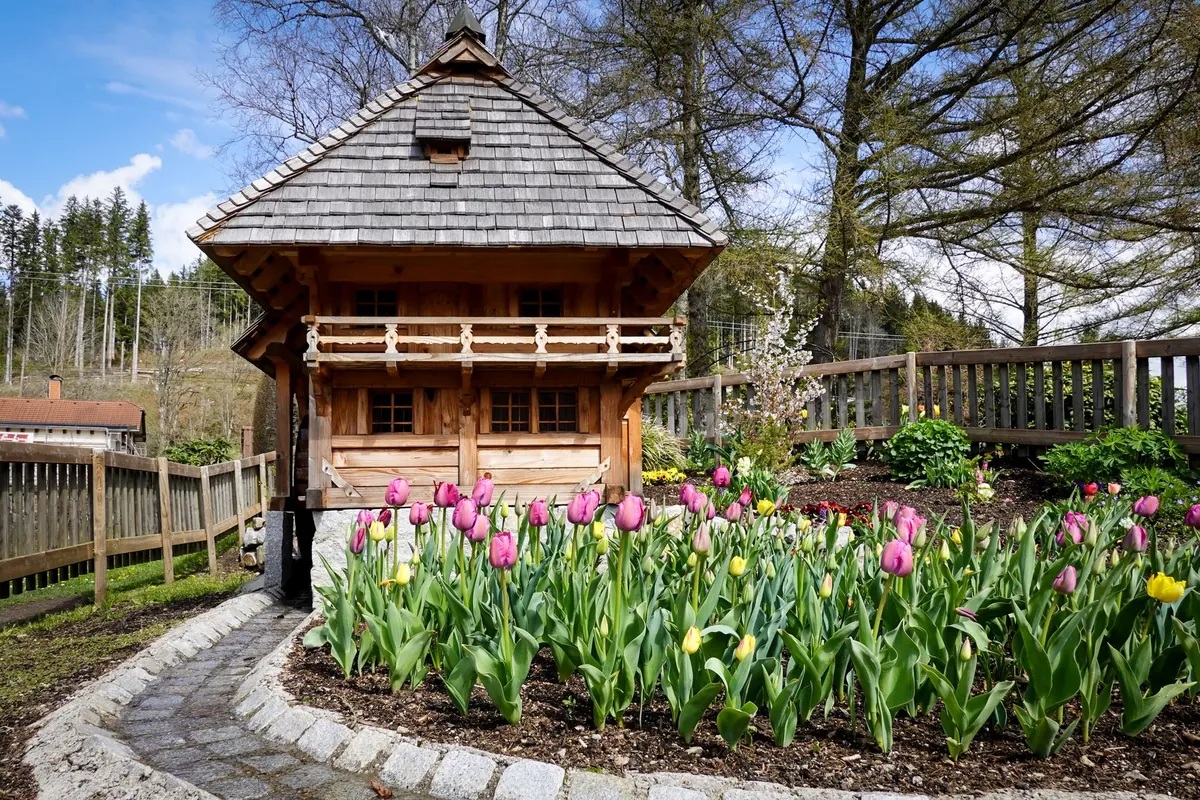
Shingles produce orderly rows with soft, regular variation. They suit cottages, dormers, gable ends, contemporary garden rooms and anywhere you want the cladding to recede into the overall design. Shakes are louder: a surface of ridges and hollows that catches light differently across the day and casts a heavier shadow under every course. On a barn conversion or a feature wall, that texture earns its keep. On a small, flat elevation, it can look busy.
Both will weather to a soft silver-grey within a couple of years if left untreated. The difference is that shakes weather unevenly by design, because the split face absorbs water at different rates. If you want to hold a warm reddish-brown, plan on a tinted oil or stain and accept that it is a recurring job.
Where the cost actually sits
Shakes cost more per square metre as a material, and they usually take longer to lay. They are thicker, so they need sturdier battens, and they vary more in size, so there is more sorting and a little more waste. Shingles arrive uniform, cut easily with a sharp knife or tin snips, and go down quickly in tight, consistent rows.
On a modest roof, that gap may be small enough to ignore. On a large elevation, it can be significant, particularly once you account for scaffold time and the labour of laying a heavier product. If budget is the deciding factor, shingles almost always win.
Maintenance and lifespan
Neither product is fussy, but both need attention. Clear needles and leaves from valleys and gutters each autumn, because trapped debris holds moisture against the timber. Remove moss with a soft brush or a scraper, never a pressure washer, which drives water into the grain and strips the surface. Check for lifted or loose units after winter storms.
Two details matter more than the choice between shingle and shake. First, fixings: use stainless steel or hot-dip galvanised nails, because the tannins in cedar will eat through mild steel. Second, ventilation: battens and counter-battens with a breathable membrane behind them let the timber dry from the back as well as the front. Get those right and either product will give many decades of service. Get them wrong and even good cedar will disappoint.
Which one suits your project?
- Choose shingles for a tidy, traditional look, for tight budgets, and for walls where you want texture without drama.
- Choose shakes for steep, exposed roofs, for heavy-textured feature elevations, and for period or agricultural buildings where a hand-made look is the point.
- On a shallow pitch, favour the thicker option and more layers. Cedar is not the right covering for a flat roof.
- Check the rules first. Roof coverings and external wall finishes can fall under building regulations for fire performance, and listed buildings or conservation areas may need consent. Ask your local building control team before you order.
Before you place the order
Measure the area properly, decide the exposure you want, and add around ten per cent for cuts and waste. Buy a sample of both and look at them outdoors in daylight, not under a showroom lamp — cedar changes character in weather. Ask your supplier to confirm the grade rather than just the species, and ask your roofer whether they have laid cedar before. It behaves differently from slate or concrete tile, and the details at ridges, hips and abutments are where most failures start.
Then decide once, order enough for the whole job from a single batch, and let the timber do what it does best. If you are unsure what your building control officer or insurer will require, take professional advice before work begins.
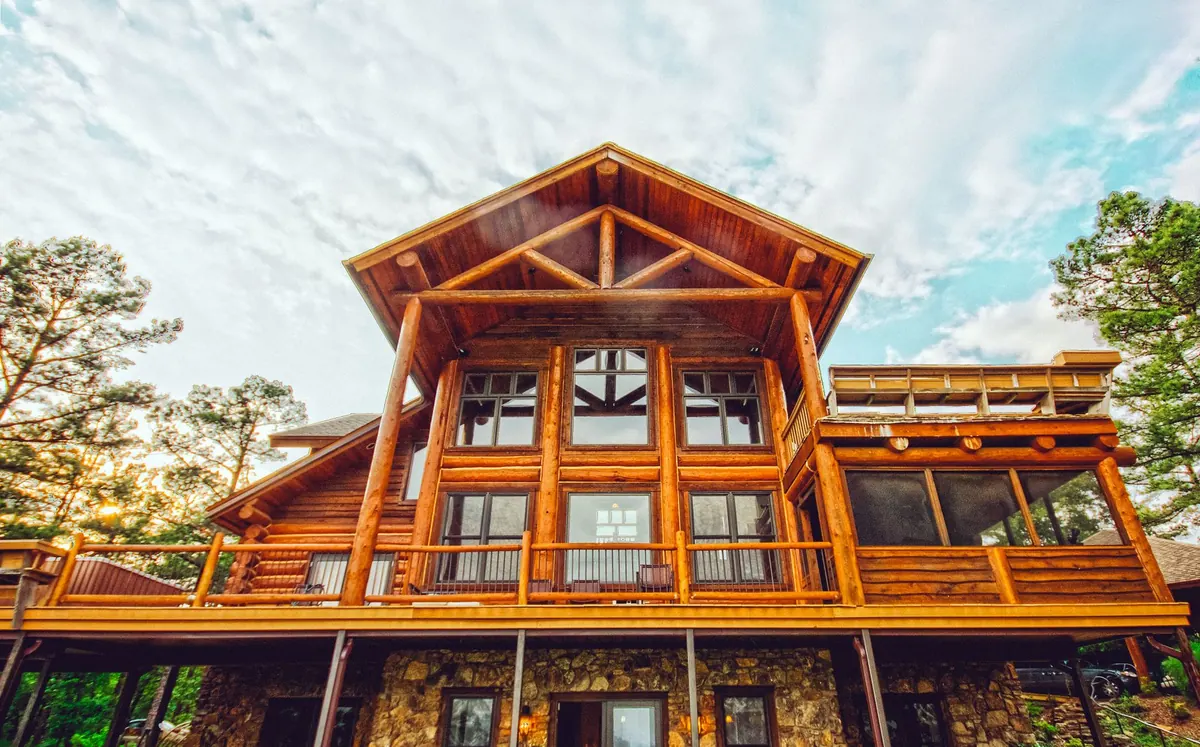
Photo: morgan / Pexels
Woodworking with Cedar: Projects, Joinery and Finishing Tips for Beginners
A practical beginner's guide to working with cedar: what makes it different, projects worth building,...
How to Build a Cedar Log Home Kit: A Beginner's Step-by-Step Guide
A practical walkthrough of building a cedar log home kit, covering foundations, tools, stacking, settling...
About Us