Woodworking with Cedar: Projects, Joinery and Finishing Tips for Beginners
Cedar is one of the kindest timbers a beginner can pick up, and one of the most irritating if you treat it like oak. It cuts easily, smells wonderful, and shrugs off British weather for decades. It also dents if you look at it sideways, splits around screws, and clogs abrasives. Learn a handful of habits early and it becomes the most rewarding wood in the rack.
What makes cedar different in the workshop
In the UK, "cedar" usually means one of two timbers. Western red cedar (Thuja plicata) is the soft, pale, aromatic wood behind most garden cladding, planters and shed projects. Then there are the true cedars — cedar of Lebanon and Atlantic cedar — which are denser, more resinous, and more often found in turning, carving and furniture. Both are softwoods, but they behave quite differently under a plane.
Western red cedar is light, stable once dry, and naturally resistant to rot and insects. Sharp tools leave a clean surface, and a cabinet scraper will bring up a shine that sanding struggles to match. What it will not do is hold a screw or a cramped joint the way ash or oak does. Density is low, so joints need more gluing surface and every screw needs a pilot hole.
If you are starting from your own logs, patience matters more than technique. Air-drying generally runs at roughly a year per inch of thickness, slower in a damp shed or garage. Seal the end grain, stack the boards with stickers between them, and keep air moving through the pile. Green cedar moves noticeably as it dries; properly dry cedar barely moves at all.
Projects that suit cedar
Play to the wood's strengths: outdoor use, generous proportions, and joinery that does not rely on brute strength.
- Raised planters and troughs. Drill drainage holes, and set the base on feet so water can escape rather than pooling in the joints.
- A slatted garden bench or folding stool. Slats and gaps let the wood dry out between showers, which is exactly what cedar wants.
- Cold frames and cloches. Half-lap corners and a bit of glazing are all you need.
- A keepsake box or small blanket chest. Ideal sanding practice, and the aroma inside the lid lasts for years.
- A garden obelisk or trellis panel. Light enough to move about single-handed.
- Turned bowls and tool handles from a cedar of Lebanon offcut — more resin, more figure, and a pleasure on the lathe.
Avoid anything structural or load-bearing. Cedar is a poor choice for a bench that has to take hammering, for thin drawer sides that will be pushed and pulled, or for joints where a tight mechanical fit is doing the work.
Joinery that holds in a soft timber
Your aim is to spread load over as much surface as possible and never to rely on a screw biting into end grain.
Housing joints (dadoes) are the workhorse. Cut a shallow groove across a board for a shelf or divider, glue it, and add a couple of screws through the side. Even a slightly loose fit works because the shoulder carries the weight.
Half-laps are excellent for frames, trellis and cold frames. Cut both halves, check the fit, and glue. A half-lap done neatly looks better than a beginner's mortise and tenon and takes a fraction of the time.
Bridle joints and loose tenons give you the look and strength of a traditional joint without chiselling a deep mortise in wood that crushes easily. Keep the tenon a little fatter than you would in oak, and cut the shoulders accurately — they do the real work.
Screws. Drill a pilot hole, countersink, and use coarse-thread screws. For anything outdoors, choose stainless steel or hot-dipped galvanised fixings; cedar extractives are water-soluble and will corrode ordinary steel, leaving black stains down the grain.
Glue. Use an exterior-rated adhesive for garden work. Apply enough to see a thin bead squeeze out, then clamp firmly but not savagely — soft cedar compresses under heavy clamping and can leave a starved joint.
Sanding and surface preparation
Cedar clogs paper faster than most timbers, so change sheets often and do not try to skip grits. Start at 80 or 100 only where you need to remove marks, move to 120, then finish at 150 for exterior work and 180 for indoor pieces. Beyond that you are mostly polishing the surface and making it harder for a finish to key in.
End grain needs more care: it soaks up finish and fuzzes up under abrasion. Sand it a step finer, and consider a light pass with a sharp block plane or scraper instead. If you have hand tools, scraping is often quicker than sanding, and it leaves cedar looking crisp rather than fluffy.
Cedar dust is a known respiratory sensitiser, and the true cedars are worse than Western red. Work with extraction or a decent dust mask, and take breaks. If you already have asthma or a persistent cough after working with it, stop and speak to your GP.
Choosing a protective finish
Decide first what you want the wood to look like in two years.
Silver-grey and weathered
Leave it bare. Untreated cedar weathers to a soft grey and needs nothing but an occasional brush-down and a wash with a mild cleaner. This is the easiest option and suits most garden structures.
Warm colour retained
Use an exterior wood oil or a pigmented oil-based stain. These move with the timber rather than cracking off it. Clear film finishes — varnish and polyurethane — tend to fail quickly outdoors on cedar because the wood expands and contracts while the film cannot. Recoat oils annually for the first couple of years, then as needed.
Indoors
A wipe-on oil, a thin shellac, or a water-based lacquer all work well on boxes and chests. Always test on an offcut first: cedar varies from creamy white to deep pinkish brown, and end grain will always come up darker than the face.
Your first afternoon with cedar
Keep the opening project small and finishable. Buy two or three short lengths of 25 mm Western red cedar, cut them to size with a fine-toothed saw, and build a simple planter with butt joints reinforced by corner battens screwed from the inside. Pilot every hole. Sand to 150. Leave it unfinished and set it outside.
You will learn more from that first planter — how the wood planes, how it takes a screw, how much it dulls an edge — than from a week of reading. Then build a second one, a little better, and let the first one go grey.
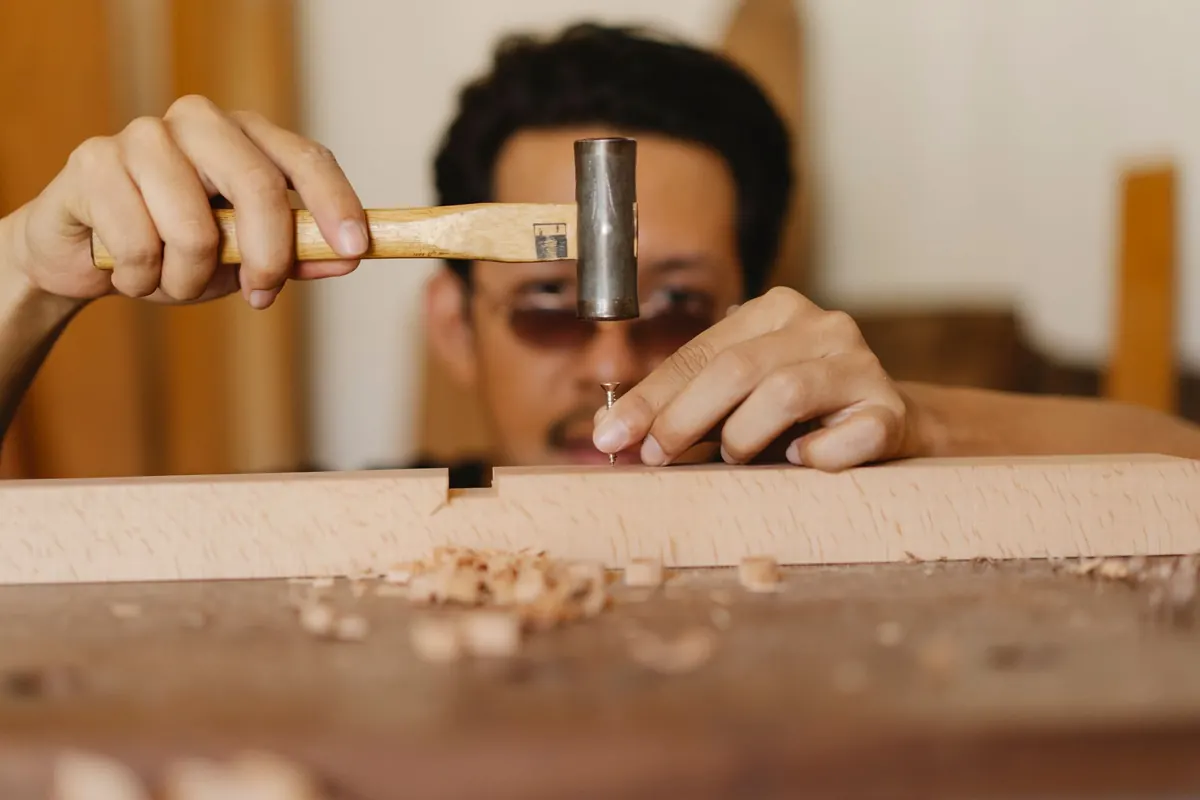
Photo: Ono Kosuki / Pexels
Cedar Shingles vs. Cedar Shakes: Which Roof or Wall Covering Should You Choose?
Sawn shingles and split shakes both come from western red cedar, but they differ in cut, thickness, look...
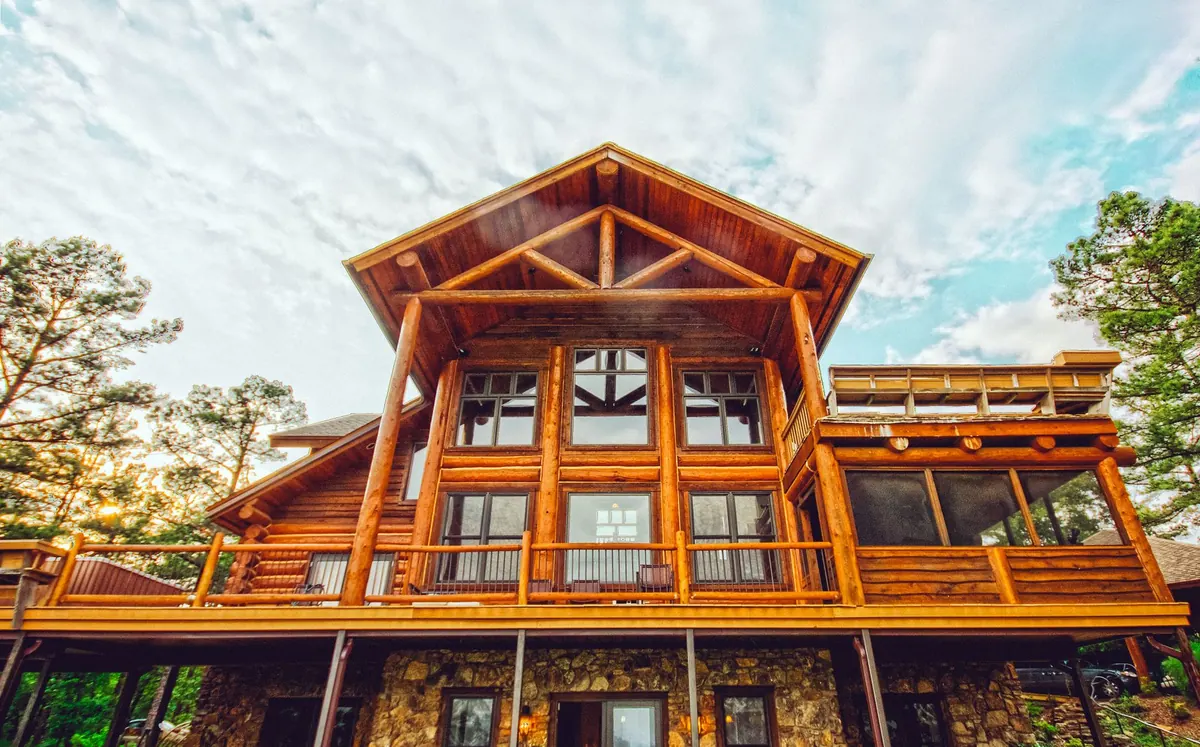
How to Build a Cedar Log Home Kit: A Beginner's Step-by-Step Guide
A practical walkthrough of building a cedar log home kit, covering foundations, tools, stacking, settling...
About Us