Seasonal Cedar Care Checklist: What to Do in Spring, Summer, Autumn and Winter
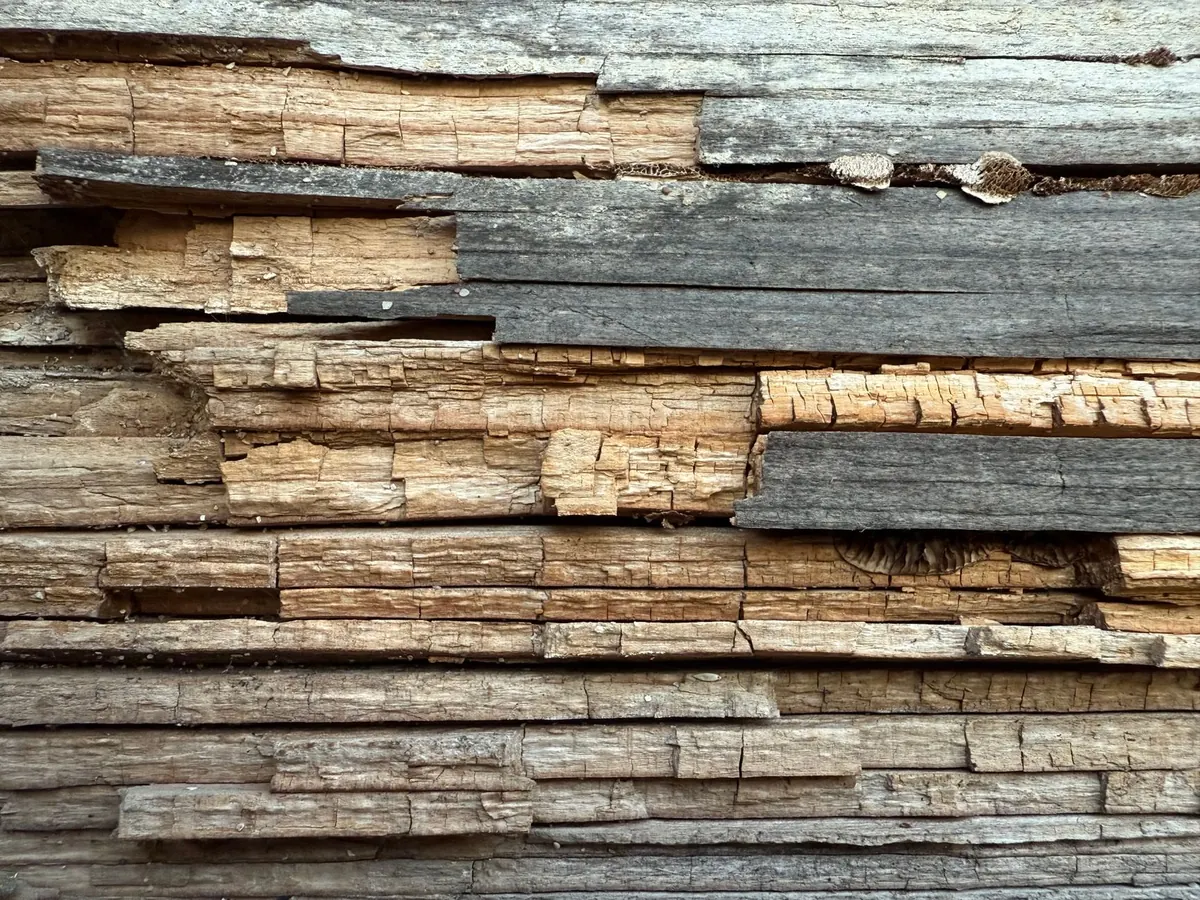
Cedar is one of the few timbers that asks for very little. Its natural oils discourage rot and insects, and a well-built log wall will weather for decades with nothing more than rain, sun and time. But "very little" is not "nothing". Left to itself, cedar still drinks water through the end grain, grows mould in shaded corners and dries out until the surface opens into small checks.
The trick is to work with the seasons instead of fighting them. Most of the jobs below take an hour or two, and doing them at the right moment means you're not repairing rot in February. Here's what to do, and when.
Spring: Inspect First, Clean Second
Spring is for looking, not slathering on products. Wait for two or three dry days, then walk the building with a notebook and a torch.
What to look for
- End grain and corner joints — the cut ends of logs and the notches where they cross are the first places to soak up water. Look for dark, soft patches and fine splits that hold moisture.
- Checks on upward-facing surfaces — a check that faces the sky works like a gutter. Probe gently with a screwdriver; sound wood resists, spongy wood doesn't.
- The bottom course — no log should sit within 150mm of soil, and there should be a damp-proof layer and free drainage beneath it.
- Shaded and north-facing walls — green algae, black mould and moss all point to slow drying, as does a dark line of timber under a gutter.
- Gutters, downpipes, flashings and splashback — most localised rot starts at a leak, not in the timber itself.
Once you know what you're dealing with, clean. A soft brush and a hose on low pressure will lift dirt and pollen. For algae and mould, use a cleaner made for wood and follow the label exactly. Avoid pressure washers above the lowest setting, because they drive water into checks and strip the soft earlywood between growth rings. Rinse, then let the timber dry for at least two dry days before any finish goes on.
Late Spring: Finish and Protect, If It Needs It
Not every cedar wall needs an annual coat. Sprinkle a little water on the surface: if it beads and rolls, the finish is still working; if it soaks straight in, it's time to re-treat. On exposed elevations most finishes want renewing every two to four years, while sheltered walls can go much longer.
Choose a breathable product — an oil-based stain, a water-repellent preservative or a clear penetrating oil. Film-forming varnishes and thick polyurethane look wonderful for a season, then trap moisture, blister and peel. Apply to dry timber in the shade, ideally between 10°C and 25°C, and brush the finish out rather than flooding it. Two thin coats beat one heavy one. Give end grain and upward-facing checks extra attention, and mask glazing and metal fixings first.
Summer: Sun, Heat and Watering
Summer is mostly about not making things worse. Ultraviolet light will turn untreated cedar a silvery grey, which is cosmetic; the real risk is timber that stays damp behind a shrub or under a sprinkler.
- Redirect sprinklers and irrigation so they don't hit the walls, and keep hoses from spraying cladding.
- Trim shrubs, climbers and overhanging branches so air can move across the wall — about a metre of clearance does a great deal.
- Move firewood, bins and compost heaps away from the building; they hold moisture against the timber.
- Check sealant around windows, doors and pipe penetrations, and repair any flashing that has lifted.
If you are re-coating, work early in the morning while the surface is still cool. Hot timber absorbs finish unevenly and dries too fast to brush out properly.
Autumn: Get Ready for Rain
Autumn is the most valuable few hours you'll spend all year. Clear leaves and debris from gutters, downpipes and the base of walls — blocked gutters sit behind a great many rotten log ends. Check that water discharges well away from the building, and top up gravel or a drainage trench where the ground stays soggy.
Clean off any algae while it is still soft, re-treat exposed end grain, and look over roof flashings, valleys and chimney surrounds before the first storms arrive. Poor drainage does its worst damage in winter, so this is the moment to fix it.
Winter: Let It Breathe
You can't do much finishing work in winter, but you can avoid doing harm. Don't pile snow against the base of the walls, and shovel it away from log ends. Keep gutters clear so meltwater runs off rather than down the face of the wall.
Resist the urge to fill large checks with rigid filler or cement. Logs move with the seasons, and a hard filler will crack, trap water and make matters worse. If you use a sealant at all, choose one made for log buildings and apply it as the manufacturer directs.
Inside a cabin, sudden swings in humidity open gaps between logs and around window frames. Keep air moving with vents or a trickle of background ventilation, and avoid sealing the building so tightly that moisture has nowhere to go.
A Simple Year-Round Cedar Checklist
- Spring: inspect end grain, checks and the base; clean off algae and dirt; let it dry; re-finish if water no longer beads.
- Summer: keep water and plants off the walls; check sealants and flashings; re-coat in cool conditions only.
- Autumn: clear gutters and drains; clean the surface; re-treat end grain; check roof details.
- Winter: keep snow and meltwater away; maintain ventilation; leave cracks alone.
Keep a Record, and Call for Help When It's Structural
Write down the date, the product and what you did. A photo of each wall every spring makes it obvious whether that dark patch is spreading or simply weathering, and it saves a lot of guesswork.
Two proper sessions a year — one in spring, one in autumn — plus a quick walk-round after any storm will keep cedar logs, siding and cabins in good order for decades. For anything structural, any rot that runs deeper than the surface, or any work at height, bring in a qualified carpenter, builder or surveyor rather than experimenting. Wear gloves, eye protection and a dust mask when sanding or stripping old finishes, and always read the product label before you start.
Photo: cottonbro studio / Pexels
Cedar Shingles vs. Cedar Shakes: Which Roof or Wall Covering Should You Choose?
Sawn shingles and split shakes both come from western red cedar, but they differ in cut, thickness, look...

Woodworking with Cedar: Projects, Joinery and Finishing Tips for Beginners
A practical beginner's guide to working with cedar: what makes it different, projects worth building,...
About Us