How to Install Cedar Weatherboard Cladding on a Garden Room
Cedar weatherboard turns a garden room from a shed with ambitions into something worth looking at from the kitchen window. Western red cedar is light to handle, stable once it's fixed, durable in the heartwood and takes a finish beautifully — or it will quietly silver down to a soft grey over a few seasons if you leave it alone. None of that happens by accident. The boards themselves are the easy part. What sits behind them decides whether the cladding performs for years or gives you trouble after two winters.
What You'll Need Before You Start
Gather everything first, so you aren't stopping halfway up a wall to hunt for fixings.
- Western red cedar weatherboards — order about 10 per cent extra for cuts, knots and the odd mistake
- Pressure-treated softwood battens, 25 × 50 mm or 38 × 50 mm, depending on the cavity depth you want
- Stainless steel ring-shank nails or screws, A2 or A4 grade
- Insect mesh or perforated ventilation strip for the top and bottom of the cavity
- Breather membrane and corrosion-resistant staples if the frame isn't already wrapped
- External corner trims, end trims and a head or drip trim
- Pigmented stain or oil if you want to hold the colour, plus end-grain sealer
- A fine-tooth saw blade, spacer offcuts, string line, spirit level and packers
A word on fixings: ordinary steel nails and screws will corrode in damp conditions and leave rust streaks down the boards. Stainless steel costs more and ends the problem. It's also worth confirming that your garden room sits within permitted development before you clad it; if you're unsure, check with your local planning authority.
Setting Out the Battens and the Ventilation Gap
Cedar cladding is a rainscreen, not a waterproof skin. Driving rain will find its way behind the boards. The cavity is what lets that water drain away and the timber dry out again.
Why the cavity matters
Fix vertical battens over the frame at 400–600 mm centres, leaving a continuous 25 mm gap between the back of the boards and the membrane. Vertical battens let air rise and water fall, which is exactly what you want. If your cladding runs vertically, you'll usually need horizontal battens to fix to — add vertical counter-battens behind them so the cavity still has a clear path from bottom to top.
Batten spacing and setting out
Close the top and bottom of the cavity with insect mesh, but leave a clear opening of around 25 mm at the base so anything that gets in can escape. Keep the bottom edge of the cladding at least 150 mm above ground level or paving to avoid splashback. Before you fix a single board, run a string line down each batten edge. A wall that looks straight in the frame rarely is, and cladding exaggerates every wobble.
Choosing the Profile and Getting the First Board Right
Shiplap is the usual choice for garden rooms: it overlaps, sheds water well and gives a clean shadow line. Feather edge is more traditional and cheaper but needs a deeper overlap, and bevel or clapboard gives a strong horizontal shadow. Whichever you pick, the principle is the same — boards overlap so that water runs over the top of the board below, and you work from the bottom upwards.
Set the first board level, checking at both ends and in the middle rather than trusting one reading. Use a spacer offcut to keep the gap consistent, and check level every few boards. A run that creeps 10 mm out of level across a wall is obvious from the other side of the garden.
Fixing the Weatherboards
- Inspect each board before it goes up. Reject anything cupped, split or with a large knot near an end where a fixing needs to sit.
- Start at the bottom, with the first board set level on your spacer line. Work upwards, one course at a time.
- Fix through the face into every batten crossing, with two fixings per board at each support. Keep nails 20–25 mm in from the ends and pre-drill if you're near a knot or an end, or the cedar will split.
- Don't cram the boards tight against each other. A 2–3 mm gap at the joint gives the timber room to move and lets a little air through; the overlap keeps the rain out.
- At butt joints, leave a 3–5 mm gap for expansion, land the joint on a batten and stagger joints rather than lining them up in a vertical column. Cover exposed joints with a trim.
- Around doors and windows, fit a head flashing or drip above the opening, run a bead of suitable sealant behind trims rather than smearing it over the face, and keep boards clear of the frame so water can't track in.
Wear a dust mask and eye protection when cutting. Cedar dust irritates skin and airways in some people, and it's a nuisance to get out of your clothes.
Finishing: Ends, Corners and Coats
Every cut end is an open door for water. Brush end-grain sealer or the stain you're using onto cut ends as you go. It takes seconds and it's the step most people skip.
At external corners, fit a corner trim to the battens rather than nailing through both sets of boards. Fix it firmly on one side only, so the cladding can expand and contract behind it. Do the same at the head of the wall: a drip trim that throws water clear of the top board, with ventilation kept open behind it.
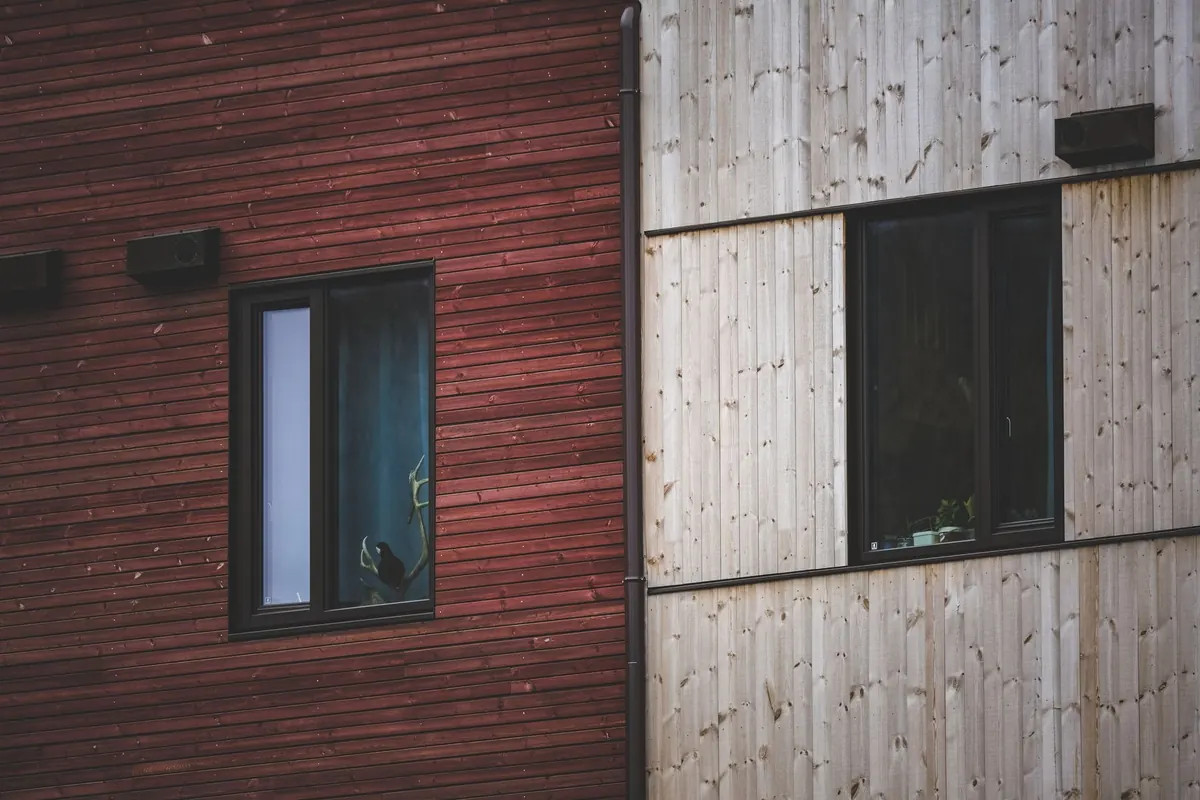
If you want to keep the warm reddish-brown, use a pigmented stain or oil. Clear oils slow the greying process but won't stop it. Bare cedar left to weather will turn silver-grey — that's a legitimate finish, not neglect, and it needs nothing more than the occasional clean.
Common Mistakes to Avoid
- Fixing boards flat to the frame with no cavity, which traps moisture and causes rot and cupping
- Using steel or corroded fixings that stain the timber
- Running cladding down to the ground, where it soaks up splashback
- Nailing too close to board ends and splitting them
- Lining up butt joints in a single vertical line
- Butting boards tight with no allowance for movement
Looking After the Cladding
Walk round the garden room once a year and look properly. Check for popped fixings, fresh splits and any sign of water tracking behind trims. Clear leaves and debris away from the base so the cavity can breathe, and keep shrubs and trellis clear of the boards where they hold damp against the timber.
If you've stained the cedar, expect to refresh the most exposed faces every few years; sheltered walls will go longer. Clean off algae and dirt with a soft brush and water. Never pressure-wash cedar — it erodes the softer earlywood, raises the grain and leaves you with a rough, patchy surface that never quite recovers.
Do those small jobs and the cladding will outlast most of the things you keep in the room. Cedar rewards patience at the start and then asks for almost nothing.
Photo: Francesco Ungaro / Pexels
Cedar Shingles vs. Cedar Shakes: Which Roof or Wall Covering Should You Choose?
Sawn shingles and split shakes both come from western red cedar, but they differ in cut, thickness, look...

Woodworking with Cedar: Projects, Joinery and Finishing Tips for Beginners
A practical beginner's guide to working with cedar: what makes it different, projects worth building,...
About Us