A Beginner's Guide to Choosing Cedar Logs for Construction
A Beginner's Guide to Choosing Cedar Logs for Construction
Choosing cedar logs for a build is less about picking a diameter and more about matching a set of characteristics to the job in front of you. Two stacks of logs that look identical from the road can behave very differently once they are stacked into a wall: one shrinks and twists, the other settles quietly. The difference usually comes down to grade, moisture content, dimensions, knots and how the timber was dried. Get those five things right and the rest of the build becomes far more predictable.
What People Mean by "Cedar"
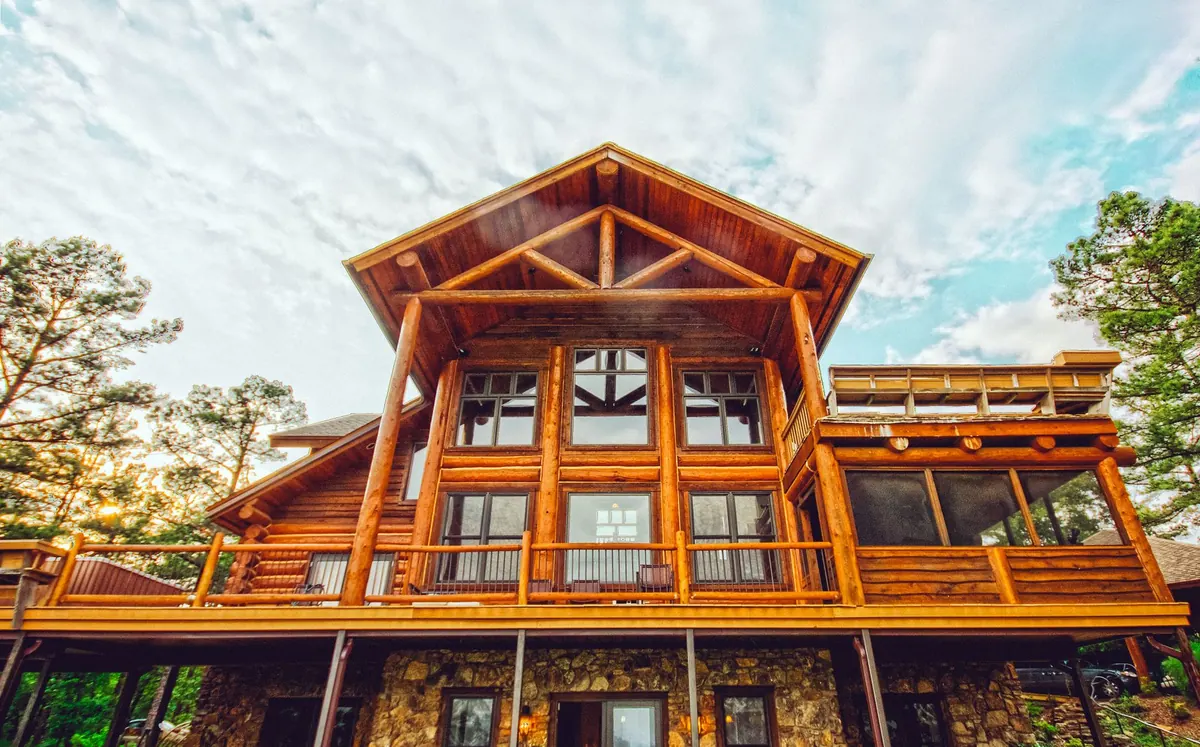
In British log-building circles, "cedar" almost always means western red cedar (Thuja plicata). It earns its place for three reasons: the heartwood resists decay without chemical treatment, it moves very little once dry, and it holds its shape and colour well outdoors. It is also soft, denting more easily than oak or Douglas fir, so it suits handcrafted cabins, garden rooms and saunas better than heavy structural work that gets knocked about on site.
Be precise when you order. Some suppliers use "cedar" loosely for other species with similar colour, so ask for the botanical name on the quote. If the price looks too good to be true, it may be a different timber entirely. Western red cedar also comes from two broad sources — British-grown and imported — and the two can behave differently because of climate and growth rate. Neither is automatically better, but you should know which you are buying.
Understanding Cedar Log Grades
There is no single international grade for cedar logs, which catches beginners out. Suppliers grade to their own rules, or to North American appearance grades borrowed from sawn timber. What matters is knowing what your supplier's label actually promises.
The two families of grade
- Appearance grades describe how the log looks: how many knots, how large, whether there is any wane (bark or a rounded edge), and how consistent the colour is. "Clear" or "select" stock has very few knots; "knotty" or "character" stock has more, often deliberately.
- Structural grades describe what the timber can carry. For a log wall this is normally covered by an engineer's specification rather than a supplier's label, so if the build is structural or subject to building control, have that specification checked by a structural engineer.
For a visible wall, ask for a sample or photographs of the actual grade, not the best-looking log in the yard. Confirm which face is the good one, because the reverse may be knottier. If you are buying "select" logs, ask what percentage of the load is allowed to fall below the advertised grade — a dishonest supplier will not volunteer that number.
Moisture Content: The Number That Matters Most
Moisture content (MC) is the weight of water in the wood as a percentage of its dry weight. Green cedar straight off the saw can sit above 60 per cent. Every bit of that water leaves eventually, and as it does the log shrinks — mostly across the grain, hardly at all along it. A 300mm log can lose 15mm or more in diameter as it dries down to UK conditions, which is why log walls settle and why openings above doors and windows need allowance made for movement.
Aim for logs dried close to what they will reach in service. In most of the UK that is roughly 12–18 per cent, depending on whether the building is heated. Buy a pin-type moisture meter and test at least ten logs from a delivery, pushing the pins into the heartwood at a freshly cut end rather than the weathered surface. If readings vary by more than a few points across the stack, expect uneven movement.
Kiln-Dried Versus Air-Dried Cedar
Both can produce an excellent building. The choice is about time, money and risk.
- Kiln-dried: brought down to a target moisture content in a controlled chamber. Consistent from log to log, ready to machine and build sooner, and less likely to move afterwards. It costs more, and an aggressive kiln schedule can cause surface checking.
- Air-dried: stacked and left to dry naturally, usually under cover for a year or more. Gentler on the timber, often cheaper and pleasant to work with. But the final moisture content depends on the weather, so it will keep moving with the seasons unless the building is well ventilated.
Whichever you buy, storage on site decides how much of that drying work is undone. Keep logs off the ground on bearers, spaced so air can move between them, and under cover but open to the breeze. Stacking them tight against a wall, or leaving them wrapped in plastic, traps moisture and encourages mould, stain and, in a bad case, rot before the build has even started.
Dimensions: Diameter, Taper and Length
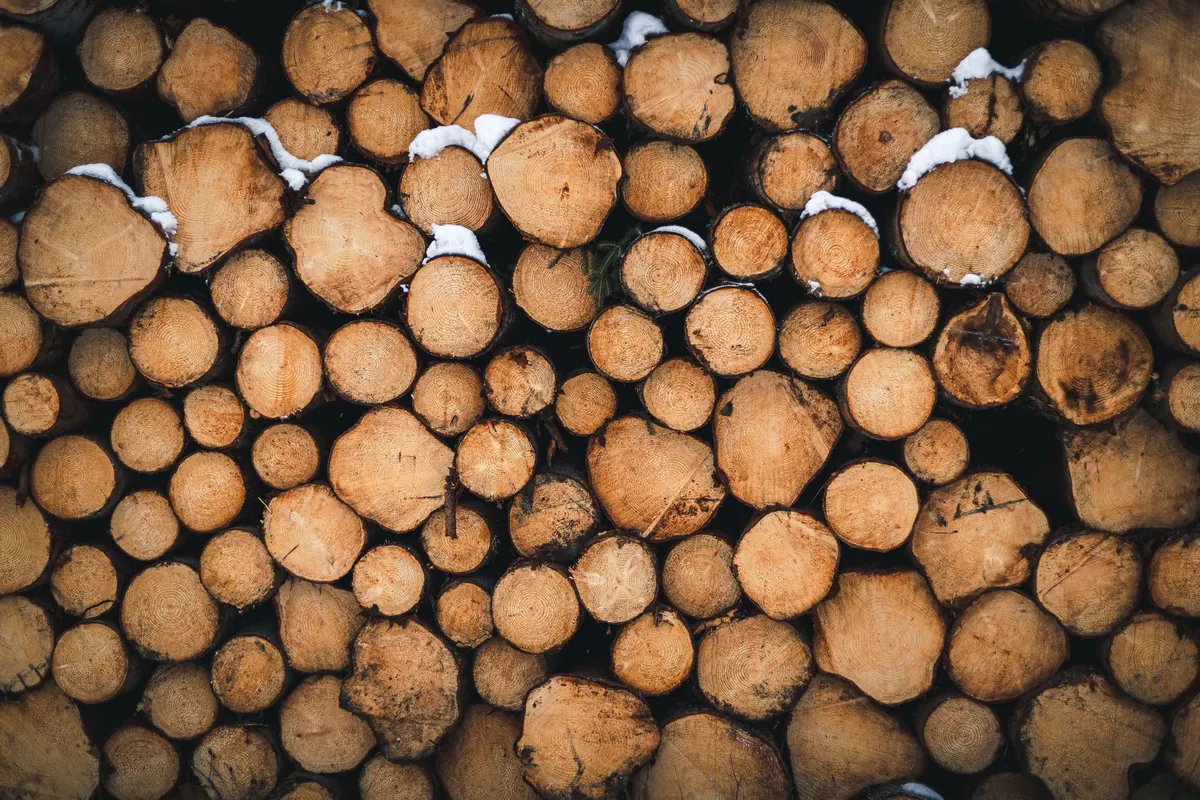
Log diameter sets the character of the building as much as its thermal performance. A wall of 150mm logs looks slim and cabin-like; 250–300mm logs give the chunky, solid feel most people picture when they think of a log home. Note that log diameter is normally quoted at the small end, and logs taper, so a 250mm top-end log might be 300mm or more at the base. That taper has to be allowed for in the wall design, or the courses will not sit evenly.
Wall thickness also drives how much insulation you can fit. Logs alone rarely meet modern thermal targets, so most year-round builds in the UK pair the log wall with additional insulation, either inside the wall cavity or in a separate framed layer. If you are building a summer cabin or sauna, a log-only wall is usually fine.
Length matters too. Random lengths waste material and create awkward joints, so ask for cut-to-order or cut-to-length stock if the supplier offers it. Log length often dictates the corner notching pattern, and you want enough overhang at corners to protect the joints from rain. Buying long enough to allow for that overhang, plus a little waste, will save headaches later.
Knots, Shakes and Other Defects
Knots are where branches left the trunk, and they cause trouble for two reasons: the wood around them has a different grain direction, and a dead knot can shrink and loosen as the log dries. Large knots on the compression side of a structural log reduce its strength. For appearance, knots add character but also create movement, so they are a design choice as much as a defect.
Look for live knots — firmly fixed, without a dark ring or pitch pocket around them — rather than dead ones, which are dark, loose, and prone to falling out. Avoid logs with very large knots, clusters, or knots sitting on the face you intend to leave exposed if you want a clean finish.
Shakes are cracks running along the grain, usually caused by growth stresses or drying. A heart shake runs from the centre outward; a ring shake separates growth rings. Small surface checks are normal and largely harmless in a log wall, but deep shakes compromise structural value and let water in. Reject any log with a shake you can see daylight through.
Also watch for bow, spring, twist and crook. A little bow is normal and can sometimes be faced out of sight; a badly twisted log will fight you all the way up the wall.
Checking a Delivery Before You Build
Before you accept a delivery, spend twenty minutes with a moisture meter, a tape and a torch.
- Test moisture at several fresh ends, not the weathered surfaces.
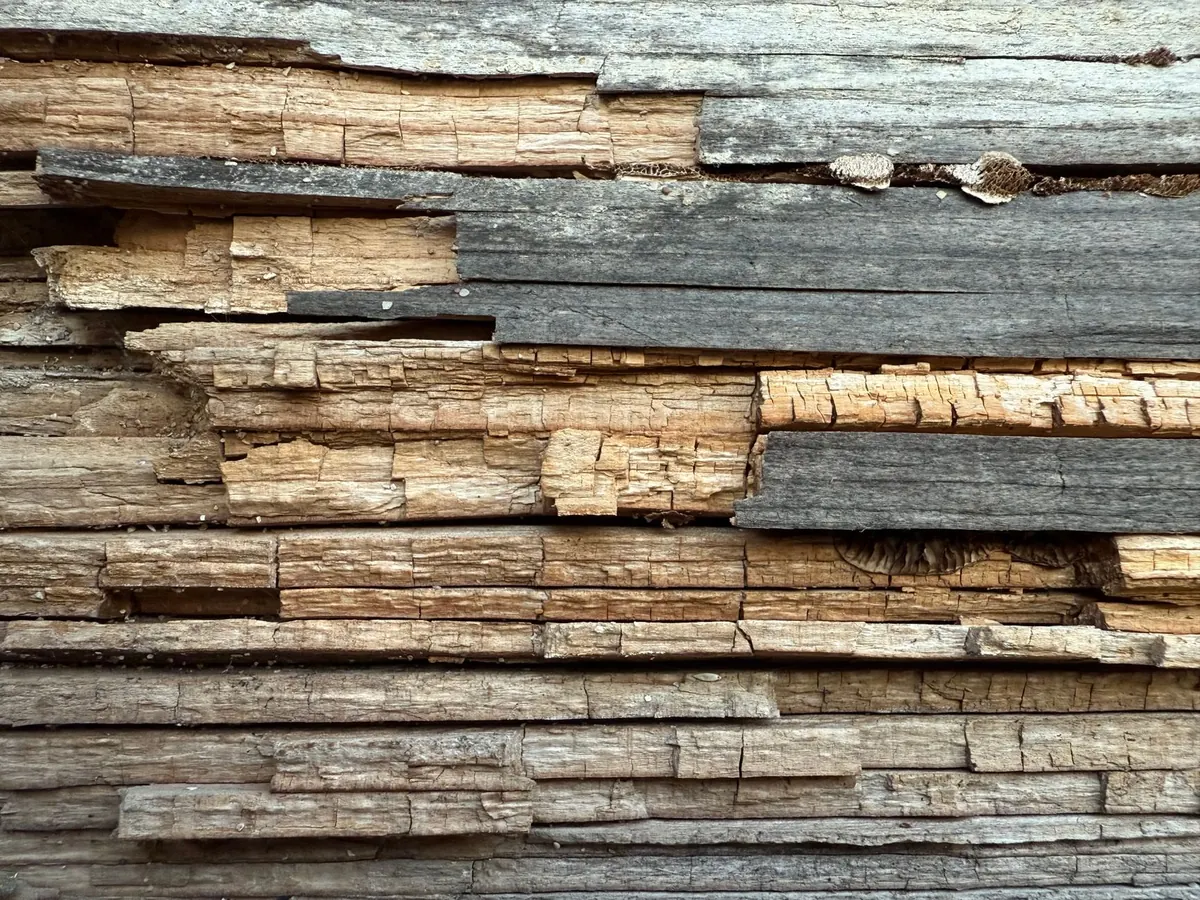
- Check for soft patches, fungal staining and insect holes, especially near the ends and under the bark.
- Measure a sample of diameters at both ends to confirm taper and average size.
- Look for end splits deep enough to run past the first growth rings.
- Note any blue stain. It is cosmetic and does not weaken the timber, but it should be reflected in the price if you were promised clean stock.
Get any rejected logs agreed in writing before the driver leaves. It is far easier to sort a problem on the lorry than after the logs are on the ground and the paperwork is signed.
Putting It All Together
Choosing cedar logs is really a series of trade-offs between cost, drying time, appearance and structural honesty. The cheapest stack in the yard is rarely the cheapest build once you allow for wastage, movement and rework. The most expensive stack is not automatically the right one either, especially if it is over-dried or over-sized for the job.
For most first-time builds, the safest formula is well-graded, kiln-dried western red cedar at 12–18 per cent moisture, in consistent diameters, with knots and shakes you have seen and accepted in advance. That will not be the cheapest option, but it is the one least likely to surprise you half way up the wall.
Photo: Alexis Caso / Pexels
Cedar Shingles vs. Cedar Shakes: Which Roof or Wall Covering Should You Choose?
Sawn shingles and split shakes both come from western red cedar, but they differ in cut, thickness, look...

Woodworking with Cedar: Projects, Joinery and Finishing Tips for Beginners
A practical beginner's guide to working with cedar: what makes it different, projects worth building,...
About Us